Ever have a great idea for a quick party, but don't have the time to go through the hassle of party planning and sending invitations? By creating a Facebook Event, throwing a quick party has never been easier! With just a few clicks of a button, you are able to create an event invitation and send it to all of your friends.
Within minutes, friends can respond with an Attending, Maybe Attending, or Not Attending. They can even write messages on your Event's Facebook Wall — "I'm bringing the chips!" Party planning has never been faster!
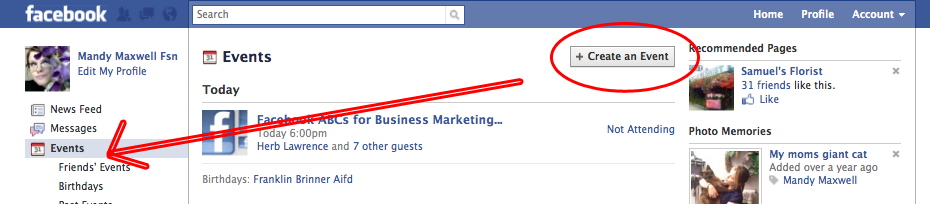
To begin, login to Facebook and click "EVENTS" in the left side column. This will bring you to the Events page where you can all of your upcoming events and even your friends events. Click the "+ CREATE AN EVENT" button at the top of the Events page.
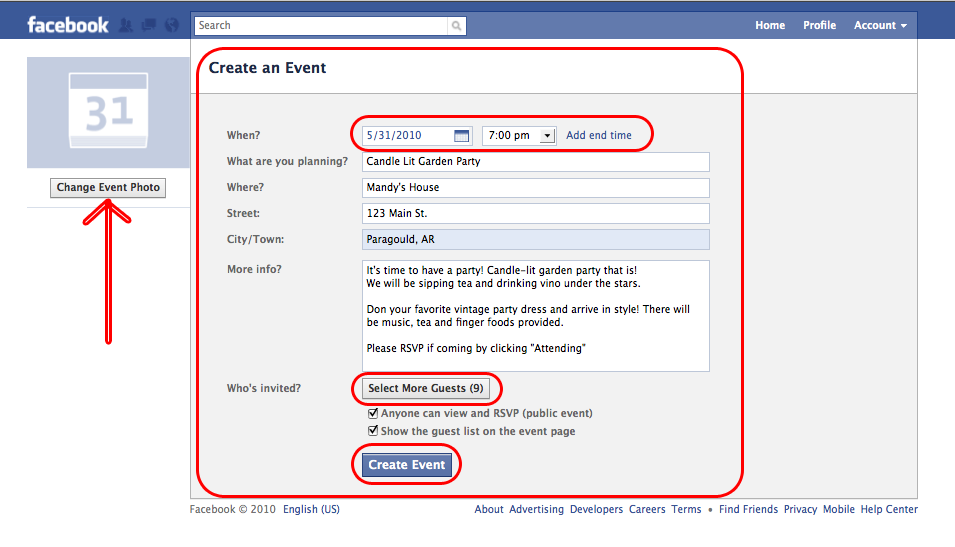
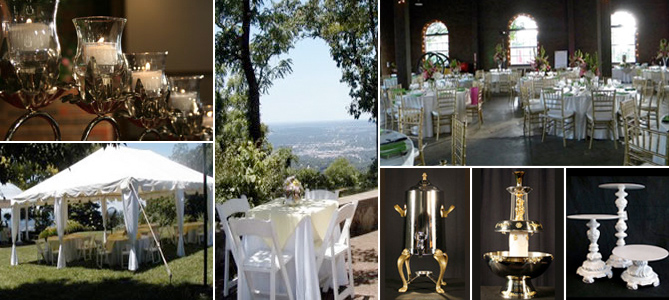
Above you see the party I am planning is a Candle-Lit Garden party at My house. What this means:
- WHEN – This is the date and time of your party. Click "Add End Time" if there is an end time. This party will go on until "?" So I just left that out.
- WHAT ARE YOU PLANNING – This is going to be the NAME of your event. Name it something descriptive enough that your friends will instantly understand what you are asking.
- WHERE – This is the place you are holding your event. For my event, it's my house. Examples would be "City Community Center," "Hope's Chapel," "Chuck-E-Cheese"… you get the idea.
- STREET/CITY/TOWN – These are all optional.. I put my info (it's not real info, by the way) in because not all of my friends know where my house is. If you were having your party at the Community Center or a well-known place you could leave this out.
- MORE INFO? – Write a description for your event. Be sure to specify if your guests need to do or bring anything with them. For my garden party, we are going to dress up, so I included that in the More Info. This would be a great place to suggest bringing food or drinks!
- WHO'S INVITED – By clicking the "Select Guests" button you can Continue reading "Using Facebook To Plan Events" »
 Sporting events, weddings, and bachelorette parties can all be taken to the next level with the addition of an amazing ride. The staff at Diamond Limousine Service are polite and adhere to the most stringent of professional standards. When you choose Diamond Limousine Service, you are choosing class.